Ingredients
Equipment
Method
Step 1: Prepare the salmon filling
- If you have leftover salmon, use a fork and flake it.
- In a small bowl, combine the flaked salmon with 1 tablespoon of Kewpie mayo (a Japanese-style mayonnaise) and 1 tablespoon of sriracha sauce. Adjust the sriracha to your preferred level of spiciness. Mix well until the ingredients are evenly combined.
Step 2: Season the Rice
- Take your leftover cooked rice and place it in a microwavable large bowl.
- Heat up your rice in the microwave for 1 minute or until it is warmed and soft.
- Add 2 tablespoon of mirin and 2 tablespoon of rice vinegar - adjust the taste to your liking.
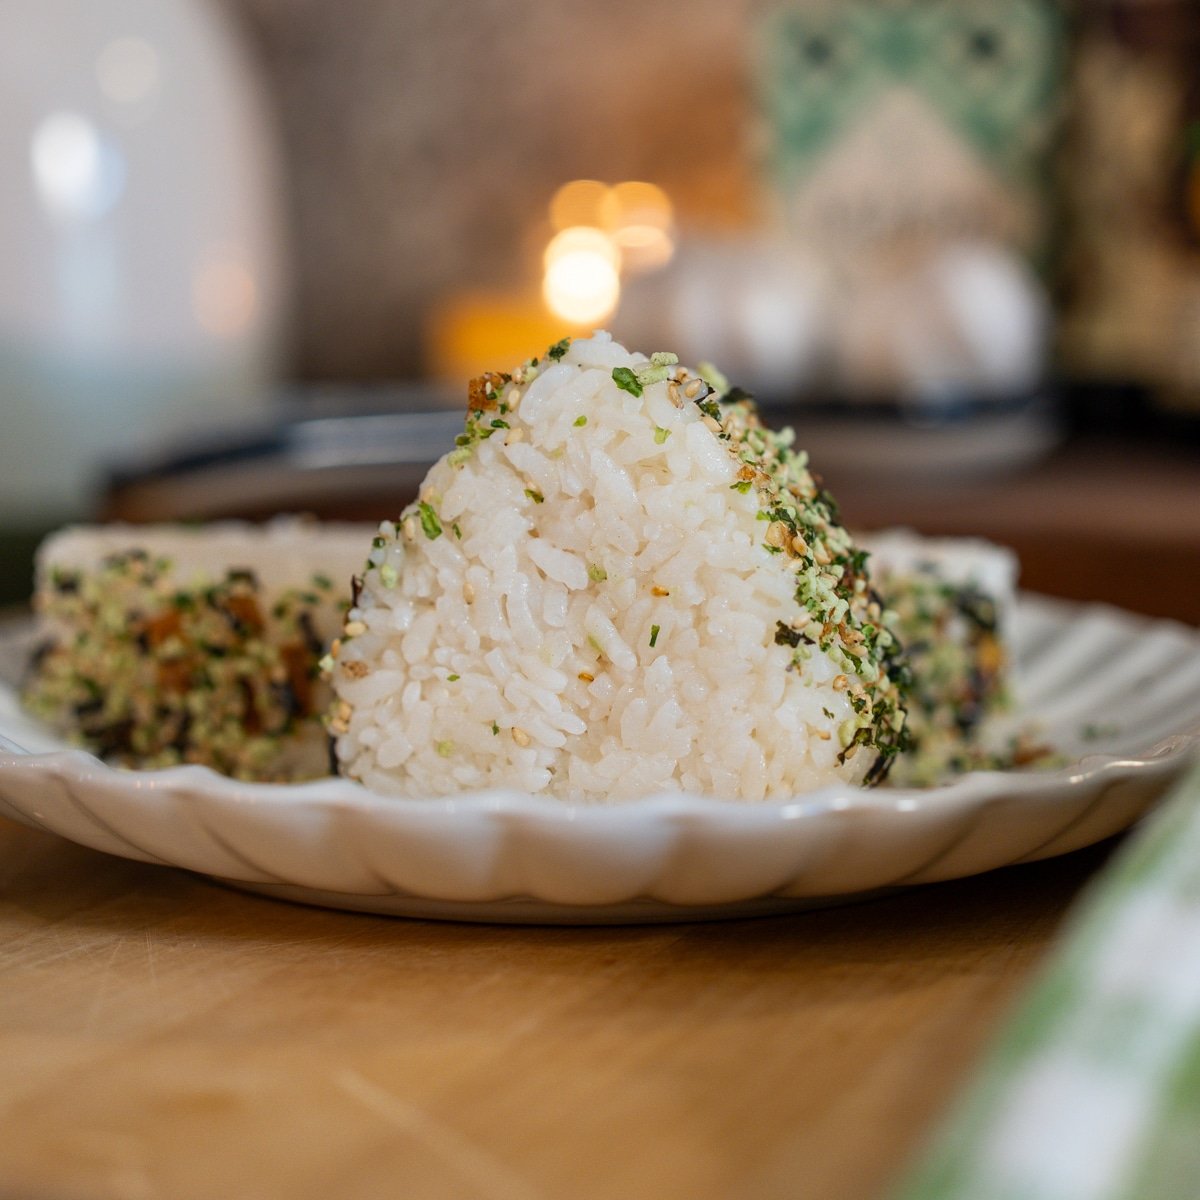
Step 3: Shape the Onigiri (BY HAND)
- Wet your hands with a small bowl of water to prevent the rice from sticking. Take a handful of seasoned rice and place it in your palm.
- Flatten the warm rice in your hand and create a small well in the center for the salmon filling.
- Add a spoonful of the salmon mixture in the middle.
- Encase the filling with the rice and shape it into a triangle shape or oval triangular shape, whichever you prefer. Press the rice gently to ensure it holds its shape.
Shape the Onigiri (BY MOLD)
- Place seasoned rice in the mold, filling it halfway, and create a slight hollow for your chosen fillings.
- Spoon your desired filling into the hollow, then top with more rice to fill the mold completely.
- Seal with the lid, and press down firmly. Uncover, invert the mold, and press the bottom button to release your onigiri.
Step 4: Pan fry and make yaki onigiri
- Brush the onigiri with a little bit of sesame oil. Pan-fry the onigiri until it becomes slightly crispy and the rice develops a golden-brown crust.
- Take nori strips (nori seaweed) and wrap them around the onigiri. The nori strips will not only add a different flavor but also make it easier to hold and eat.
Step 5: Garnish (Optional)
- If desired, sprinkle some black sesame seeds, white sesame seeds, or toasted sesame seeds over the top of your onigiri for extra flavor and texture.
Notes
STORAGE AND REHEAT
- Best eaten immediately after pan frying. The crispy exterior softens quickly once the onigiri sits.
- Fridge: Store unfried assembled onigiri wrapped tightly in plastic wrap up to 1 day. Pan fry right before serving.
- Store nori separately always. Wrap right before eating or it goes soft and chewy.
- Reheat: Pan over medium heat with a drizzle of sesame oil for 2 to 3 minutes per side to bring the crispy crust back. Microwave works but the texture will soften.
TOP TIPS
- Pan fry in sesame oil. This is what makes these different from a regular rice ball. The sesame oil gives the outside a nutty golden crust that elevates the whole thing.
- Press the rice firmly in the mold. Loose rice means the onigiri falls apart the moment you pick it up. Pack it tightly and press the lid down hard before releasing.
- Kewpie mayo is non-negotiable. Regular mayo works but Kewpie is richer, slightly sweeter, and makes the filling taste significantly better. Worth finding it.
- Leftover rice works best. Freshly cooked rice is too soft and sticky to hold its shape well. Day old or leftover rice gives you better structure.
- Wrap nori right before eating. If you wrap it too early the nori goes soft and chewy. Keep it separate and wrap each one right before serving.